Wigs
Sort by Color
Sort by
Style
Sort by Character
View Cart / Checkout
Tutorials
Information
Customer Gallery
About Arda
Events
Forum
Contact Us
Kingdom-Arts.Org
Making a Cloud Wig
Tutorial by MalindaChan |
Tools/Items that you’ll need:
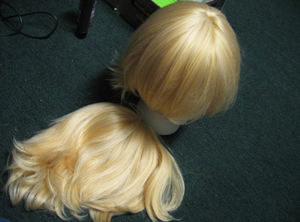
There was alot of conflict because while Arda's wigs have more fibers than the average wig, there wasn't enough to style it like I wanted. Punky wigs and similar styles were ideal, but they didn't come in this beautiful color, so I decided to use a second Magnum to get that volume.
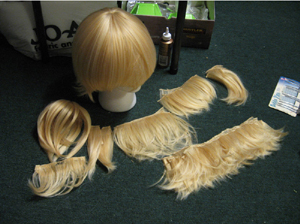
I took apart the second wig and started sewing the wefts in. Most pieces were placed directly above or below the matching wefts on the other wig.
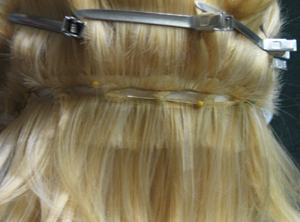
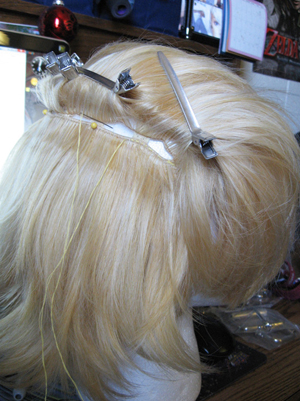
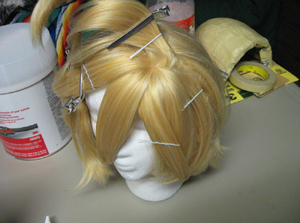
Used clips to hold hair out of the way while I pinned and sewed the second wig's wefts in. I chose to do that all by hand instead of machine. It's a lot easier to control when you do it by hand, but it's alot more time-consuming than doing it with a machine.
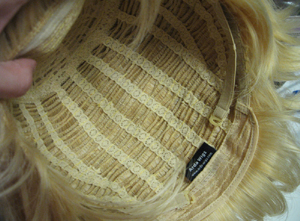
Here's what the inside of the wig looks like after it's done. That alot of wefts! The ones with the yellow stitching are the ones I sewed in.
So you know the skin cap piece of the wig that's normally on top? I couldn't really add that part of the second wig in the same spot as the other one, but I did find use for it in the front of the wig. There's that part where alot of the front spikes come from where you would most likely see Cloud's scalp, so I tacked it in with good ol' needle and thread. Then I started dividing out the wig into where I wanted the spikes to be (used bobby pins, hair clips, etc).
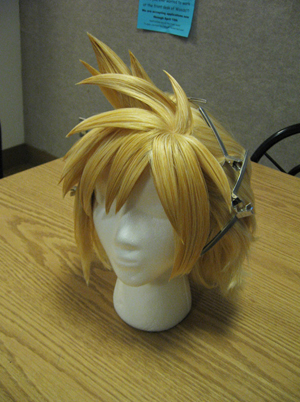
I ended up using some of the extra longer extensions and temple pieces in the front-sides. To make the spikes, I trimmed each down to the length I wanted. I cut towards the base of the spikes to thin out the tips (so the spikes would come to a nice point instead of a choppy looking stub).
After adding in those very top spikes, it was starting to look more like a Cloud wig XD
Started working my way towards the back~....
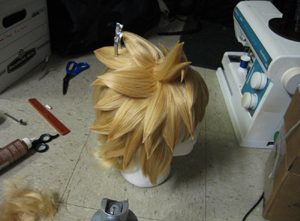
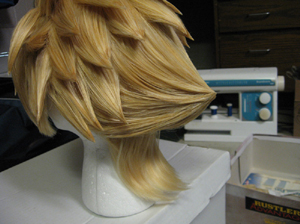
All that was left was the bird-butt thing going oin in the back. I started with pulling some pieces towardds the top and bottom together, trimming and gluing them to a point.
Very carefully, I took small pieces and sprayed each side lightly with Got2be before pulling it into the big spike I started. I made sure to tack the end down with glue so it wouldn't fall apart after I put the wig on.
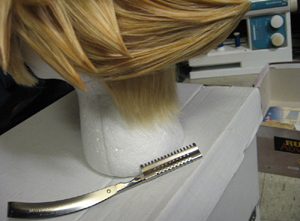
I used a razor blade to trip the hair down at the bottom.
Wig is finished! :D I used bobby pins in the back and behind my ears to keep my back hairline from being super noticable. Back To TutorialsReposted from MalindaChan's Deviant Art: Here |


